Getting Started
This guide introduces the basics of Cube AI using the web interface. Additional access methods such as APIs, CLI tools, and IDE integrations are covered in later sections.
1. Start Cube AI
Start the Cube AI stack. Make sure Docker is running before executing this command.
make upOnce the services are running, open your browser and navigate to:
https://localhostYou should now see the Cube AI login screen.
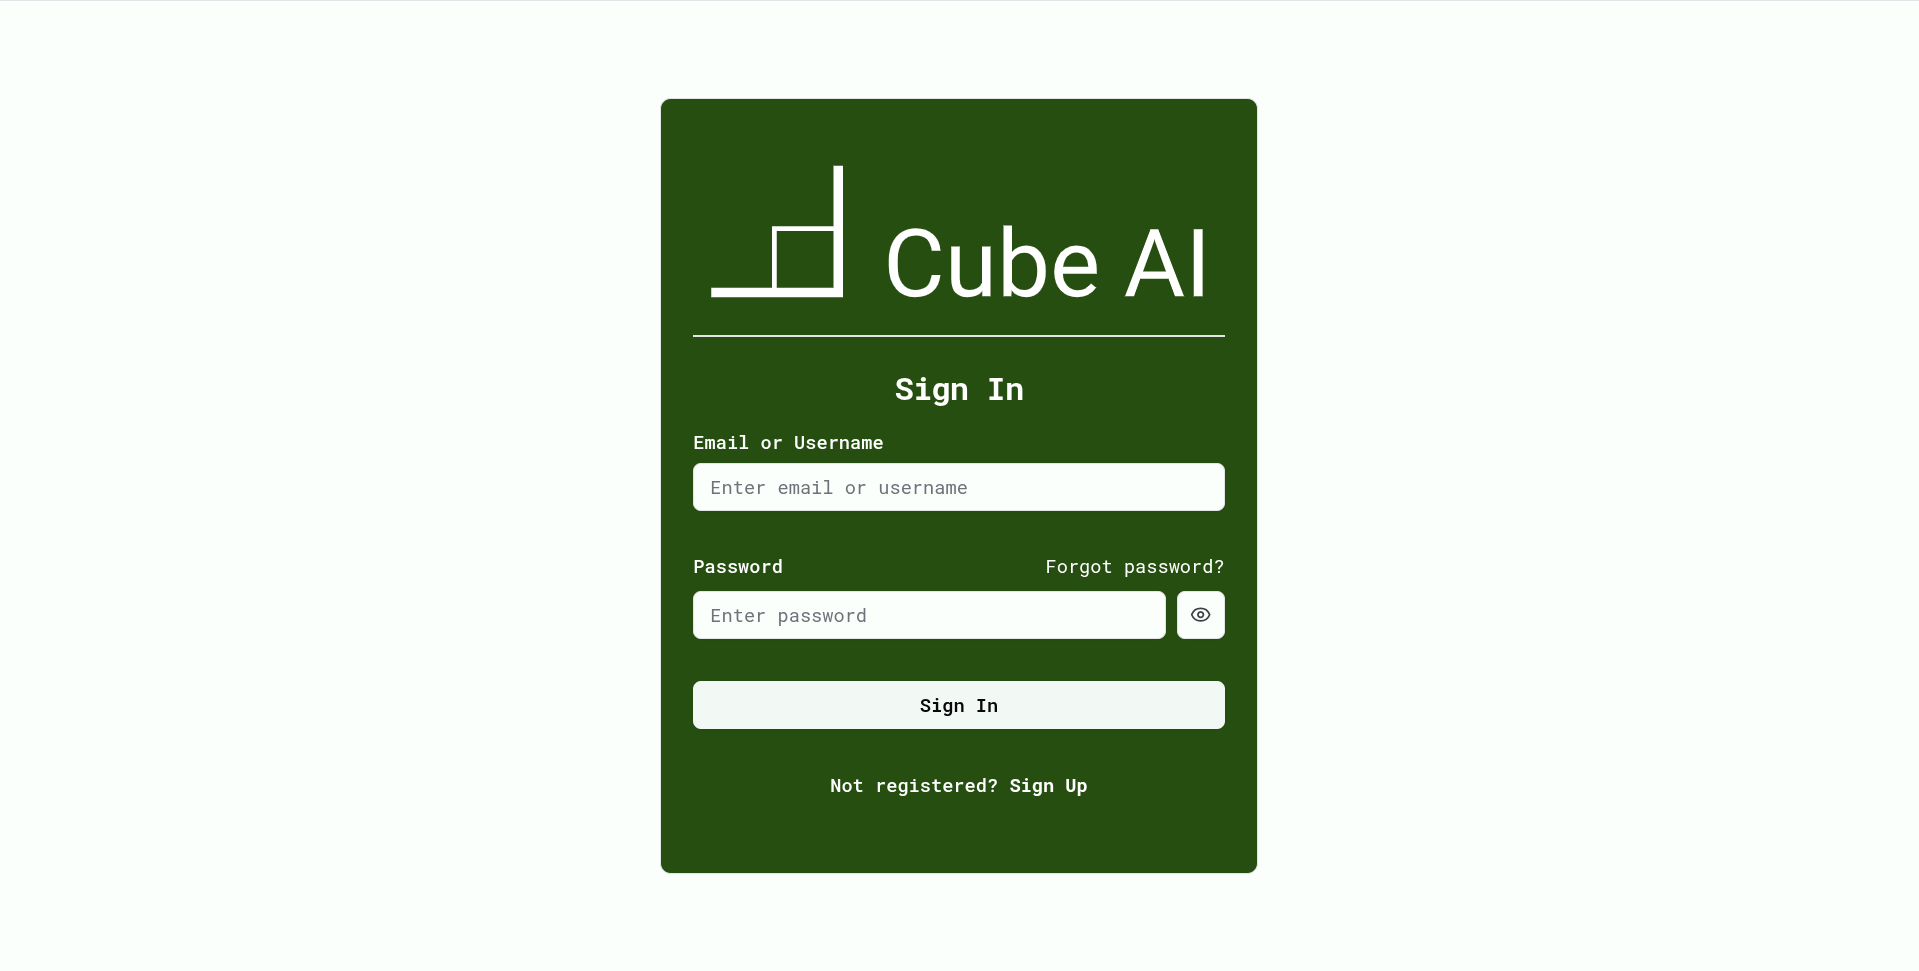
2. Log In as Administrator
Use the default development credentials:
- Email:
admin@example.com - Password:
m2N2Lfno
These credentials are for local development only.
Production deployments require custom administrator accounts.
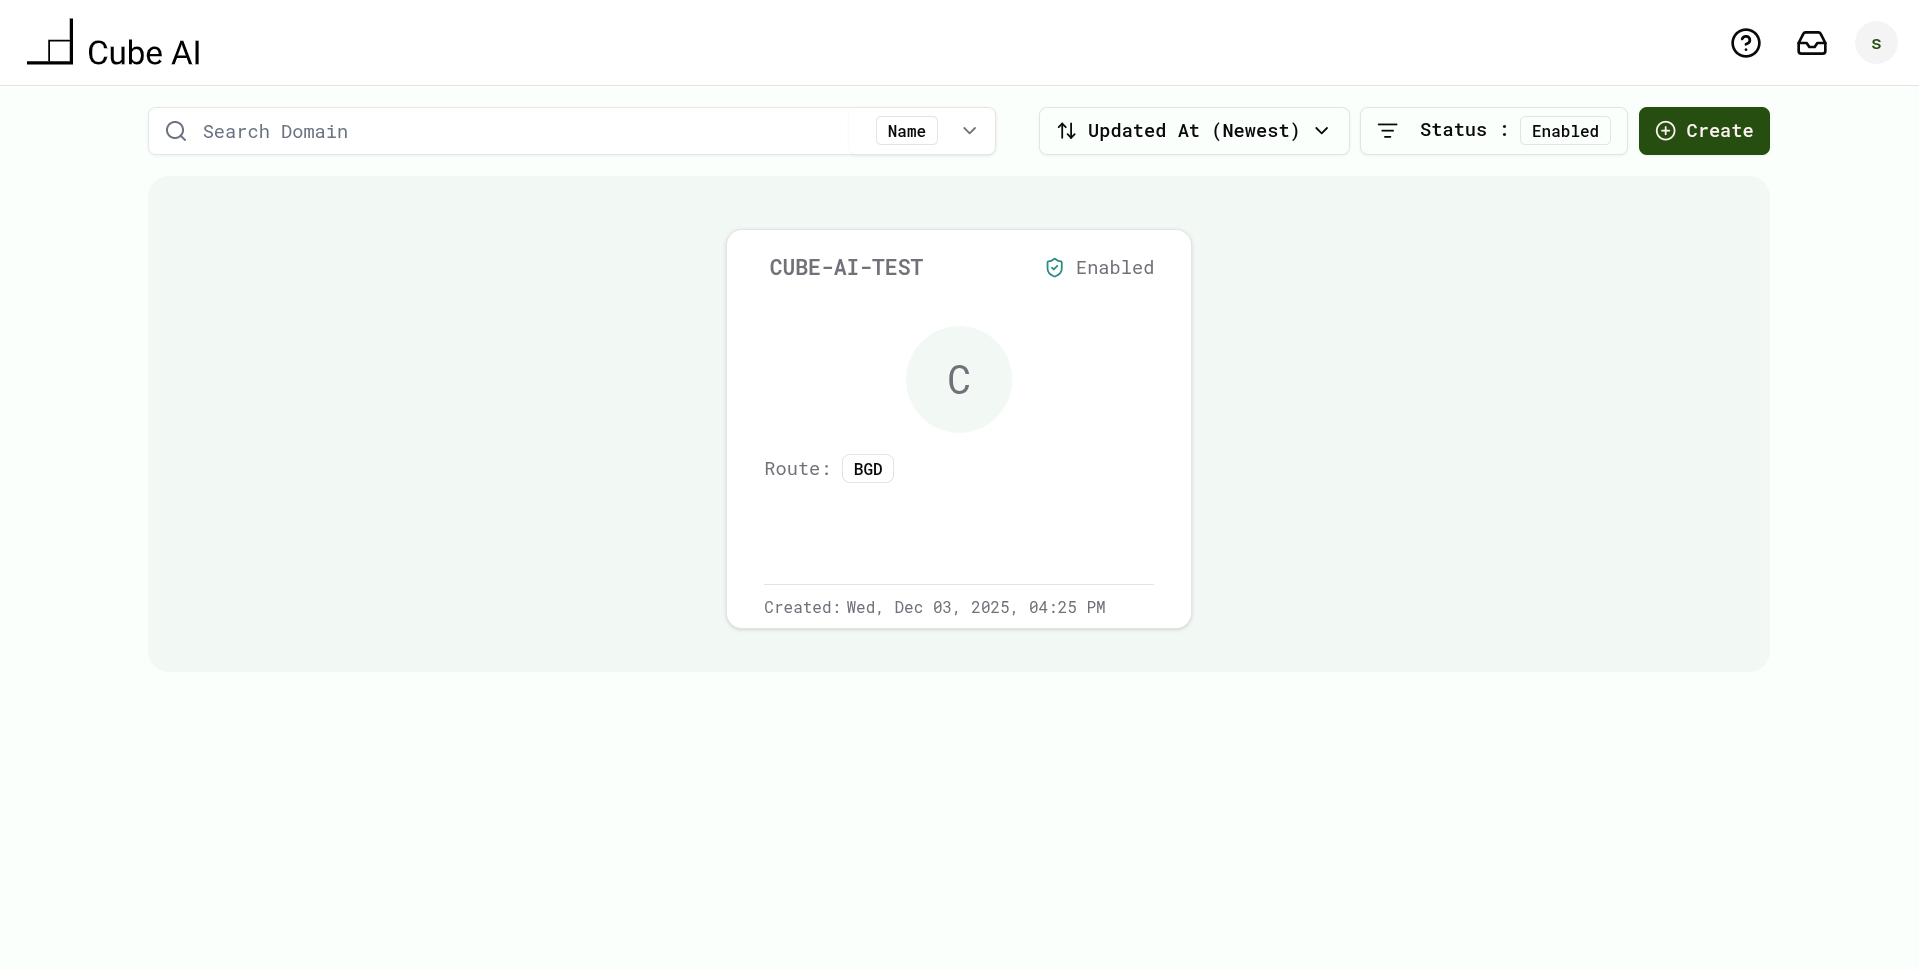
After logging in, you will land on the Cube AI dashboard.
3. Create a Domain
A domain acts as an isolated workspace for users, models, and LLM operations.
To create a domain:
- From the dashboard, click Create Domain
- Enter a Name and Route
- Click Create
- When the domain appears in the list, click Open Domain
You are now inside your new domain.
4. Open the Chat Interface
Inside your domain workspace:
- Use the left navigation menu
- Click Chat
This will open the interactive chat interface powered by Cube AI.
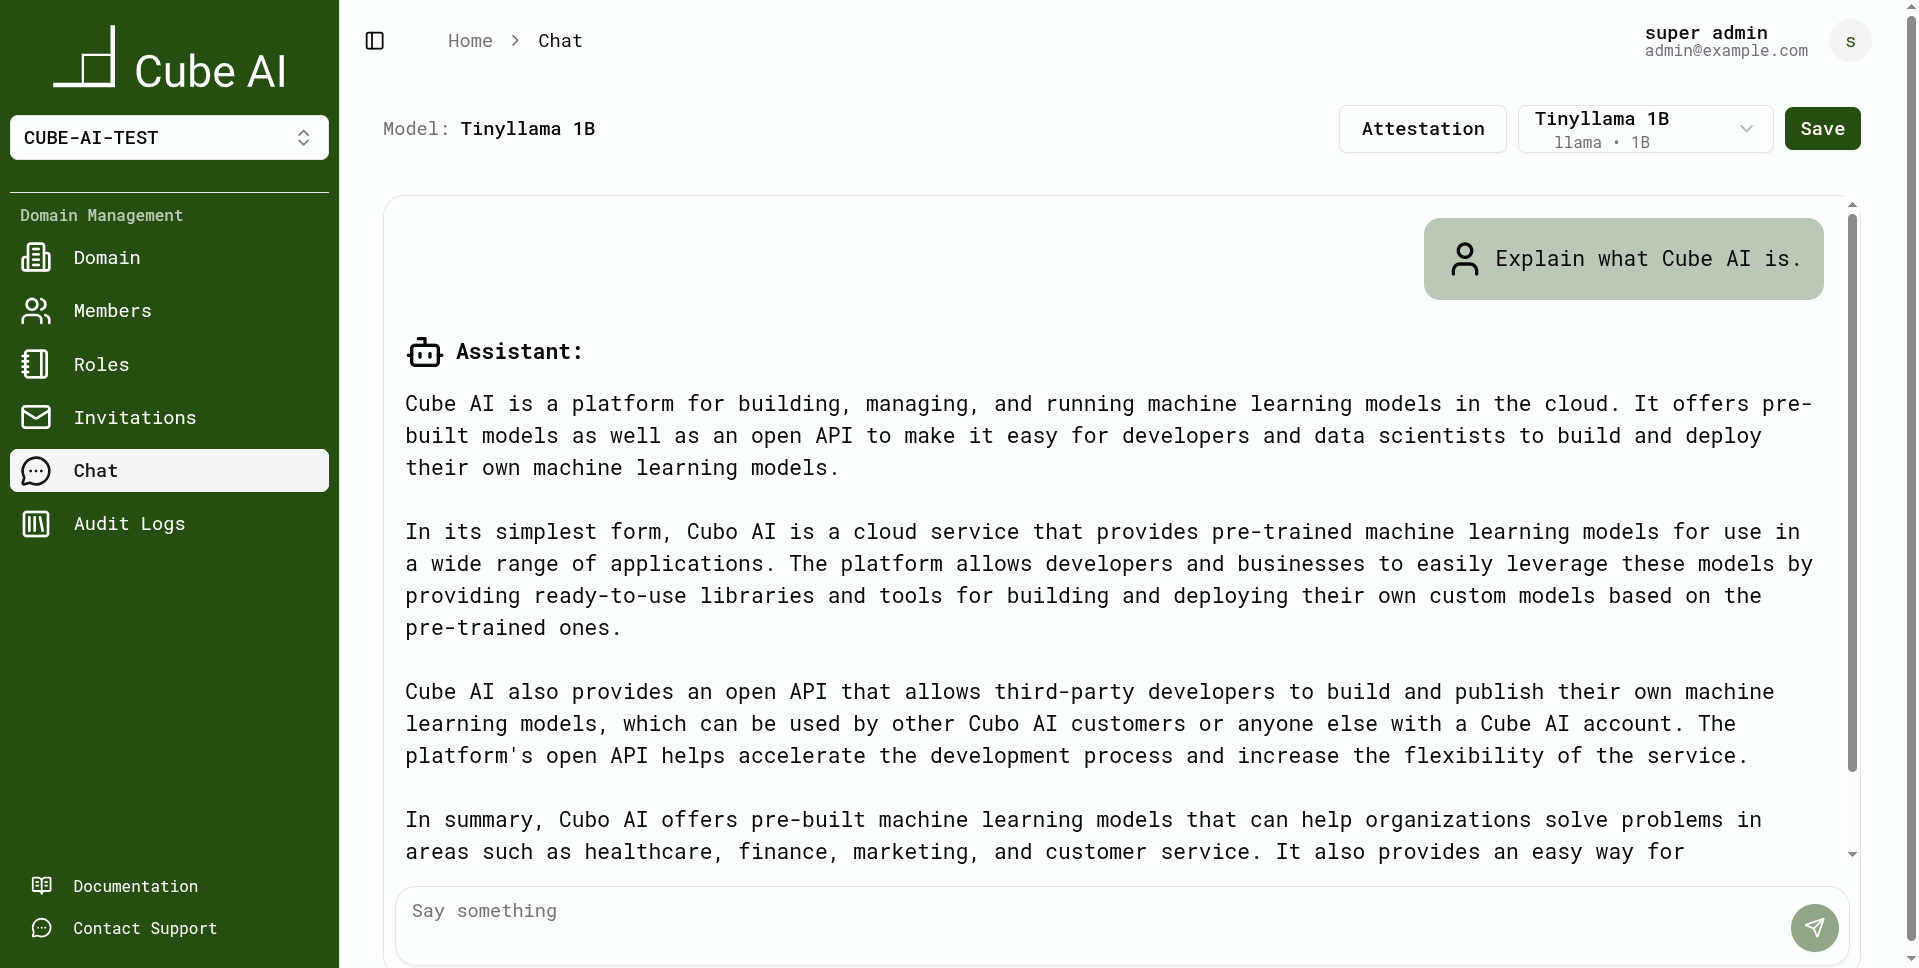
5. Send Your First Message
Type a message into the chat input and press Enter.
Example prompts:
- "Hello!"
- "Explain how trusted execution environments work."
- "Write a Python function that reverses a list."
Cube AI will generate a response using the default LLM backend (Ollama unless configured otherwise).
6. Switch Models (Optional)
If multiple models are available:
- Click the Model Selector at the top of the chat page
- Choose a different LLM (for example: TinyLlama, Starcoder, Qwen)
Cube AI will switch inference to the selected model. Available models depend on your backend configuration (Ollama or vLLM).
7. Create a Personal Access Token (PAT)
For API usage, integrations, and development workflows, Cube AI uses Personal Access Tokens (PATs).
To create a PAT:
- Click your profile avatar in the top-right corner
- Open Profile → Personal Access Tokens
- Click Create Token
- Copy and store the token securely
PATs are long-lived tokens and are the recommended authentication method for all external API access.
8. What's Next?
Now that you have created a domain and used the chat interface, you can explore:
- Managing users
- Assigning roles
- Creating additional domains
- Backend configuration (Ollama / vLLM)
- API access using Personal Access Tokens (PATs)
For VS Code and development tooling, continue to the: